Teaching your kids to read is probably one of the best gifts you can give them. It opens up a new world of seeking knowledge once they become independent readers.
The following is a system of teaching phonics that I have developed over the last eight years after trying out various phonics and teach to read programs. I homeschooled my first two kids all through their preschool years and partial-homeschooled my youngest through her preschool years. I taught all three of them to read using the following system. All three of them are currently reading at least 1-2 levels above their grade levels.
In this post, I will cover the following:
- The Three Key components to Learning to Read Phonetically.
- The Best Resource to Learn the Sounds of all the Letters.
- A Simple System to Sounding out Words Phonetically
- Step by Step Example to Sound out CUP
- Download List of 20 Recommended Words to Start Teaching your Child
- Make Learning Phonics Fun with Games
- Practice, practice, practice.
As you will see, there is no need for expensive programs and learning can be done in a fun and stress-free way! All you need for this system is the Leap-Frog Letter Factory movie, some index cards and a sharpie pen.
Three Key Components of Learning to Read Phonetically
I am sure many of us are familiar with the ABC song,
“A B C D E F G H I J K L M N O P Q R S T U V W X Y Z… now I know my ABC, next time won’t you sing you with”. It is also a common misconception that by knowing the name of all the letters of the alphabet, your child will be able to learn to read.
In fact, there are three key parts for a child to learn how to read phonetically. The three parts are
- Recognize the letter
- Know the sound of the letter
- Blend the sound of the letters together to form words
Let’s go through an example, take the word CAT. If you recognize the letters, “see”, “ay”, “t”, it does not help you read the word. In order to read it, your mind has to recognize that “C” —> “ke”, “A” —> “ay”, “T” —> “te” and blend the sounds together form the word “C..A..T”.
The Best Resource to Learn the Sounds of all the Letters
Learning the sounds of all letters is the most important step in learning to read with phonics. In our family, we have tried many resources to teach my kids the sound of the letters and the best has been the Leapfrog Letter Factory DVD. It’s the best $10 that we have spent as the kids are actually learning as they enjoy their screen time.
You only need the Leapfrog Letter Factory Video and none of the other fancy Leapfrog toys. All the other Leapfrog phonics or talking toys are not useful. The problem with those toys is that the pronunciation is usually not clear and there is no context to what the sounds are when the buttons are pressed.
You can buy the video in DVD or with Amazon Prime Streaming. On amazon prime streaming, I recommend buy the show rather than renting as you would be want to let your child watch it several times over the course of learning.
The DVD is about touring a Letter Factory where every letter (A-Z) has a name and a sound. As Tad, the frog, went around the factory, each letter jumps out to sing a very catchy jingle “The A says ah, The A says ah, every letter makes a sound and the says ah”. You can watch a short preview of the video here.
So right away in 30 minutes or so, the DVD accomplishes two things. First, it teaches your child to recognize the alphabet and it also teaches them that an alphabet has a name and a sound. The song is so catchy that after watching it maybe 10 times, it somehow gets stuck in your head. My kids between the ages of 3-7 have always enjoyed watching the show so it was never a struggle to get to them learn the sounds of the letters.
Furthermore, because the DVD itself is both visual and auditory, it helps the kids to learn and retain better than if it was just a song or just words on paper. And no, please do not make the kids watch the show for 10 times a day. Just maybe once every 2-3 days or whenever they ask for it. And you could always practice the song without the DVD in the car, during bath time or just any random time of the day.
A Simple System to Sounding out the Words Phonetically
Once your child is somewhat familiar with the sounds of the letter. You can now try to introduce the next step to connect letter and sound to words.
Use only UPPER CASE Letters
At this stage, we will only use UPPER CASE letters to minimize confusion to the kids. Most young kids are visual learners. They learn very well by recognizing shapes and patterns. Therefore, by using only UPPER CASE letters, there is a uniformed height and no projecting components that could distract them to decode words based on their shape rather than the actually letters in the words.
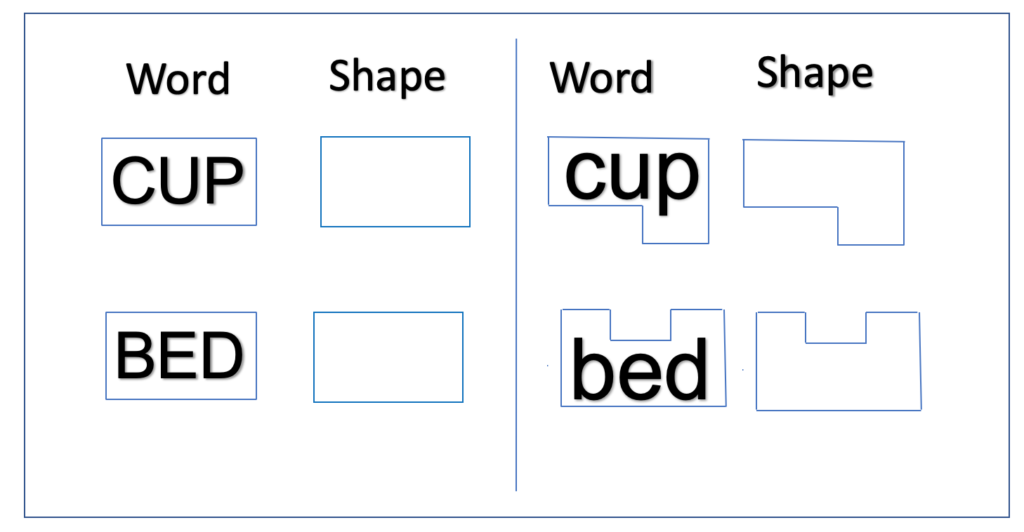
In addition, by only using UPPER CASE letters, we avoid having to deal with confusing lower case letters like ‘b’ and ‘d’. At this stage, our key focus is on making the letter-sound-word connection.
Start with Words They Already Understand
The key to this step is to start with simple two-three letter words that the child already knows. This is because reading is beyond the technicality of recognizing words and sounds. It is also about putting things in context so that those words become relevant in our every day lift.
So for example, take the word “UP”. By the age of three, most kids will understand the meaning of “up” since “pick up the toys”, “stand up” is probably part of their daily routine and vocabulary at this point of time. From ‘UP’, you could progress to “CUP” and then “PUP”.
Before we even start with “UP”, we have to start with “U” and “P” first. If they have already watched the Leapfrog Letter Factory DVD a couple of times, they are probably already familiar with the sound of “U” and “P”.
For this system, all you need is some index cards and a sharpie marker.
Step by Step Example to learning to read CUP
Step 1: Introducing letter ‘U’
We will introduce the letter ‘U’ and the sound “uuh”. Write the upper case ‘U’ on an index card.
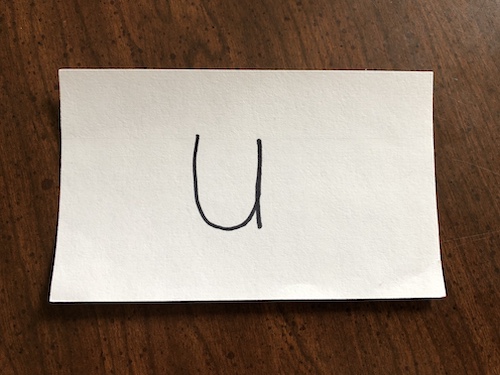
Show the child the index card and have him/her repeat the sound after you.
Be patient, in the first week or so, you might feel like you are getting nowhere and your child is humoring you by just repeating the sound after you. But after seeing the same letter and repeating the same sound 10-20 times, something will start to click in their brain.
Step 2: Introduce letter ‘P’
We start by reviewing letter ‘U’ first. We show them the index card with letter ‘U’ and ask if they can remember what the letter says. If they can’t, just tell them the sound and have them repeat after you.
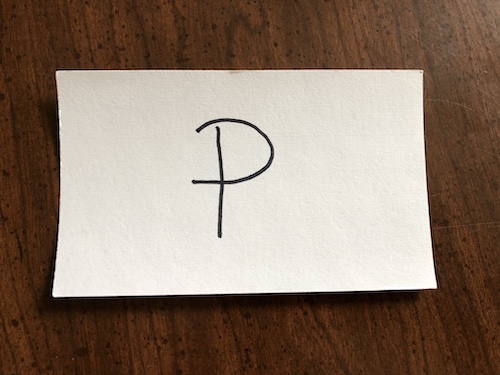
Next, we will introduce the letter ‘P’ and the sound ‘puh’. Show the child the index card and have him/her repeat the sound after you.
Step 3: Introduce the word ‘UP’
We always start by reviewing what we have learned in the last 2-3 steps. So we will show the child the index card of “U” and “P” and see if they are able to tell you the sound correctly.
Remember, at this stage, we want them to recognize the letter to the sound, not so much the letter to the name. So do not request them to tell you the name of the letter.

Next, we will start our first blending practice. We will write ‘U” and “P” together on one index card. Start by putting your finger under “U” and say “uuh”, slowly slide your finger from “U” and “P” and drag out the sound of ‘uuuuh’ until you reach “P’ and you say ‘puh” and say ‘up”. So it will go something like this ‘uuuuh…puuh…UP”.
Step 3A: Have Fun and Be Patient!
This is an exciting moment and you should be excited and ask the kid what does that say? If they don’t quite get it yet, tell them “it says UP!” and ask them what does “up” means?
You can give them examples of “stand up”, “pick up” or “get up” to give them context to the word. This is the point where we are showing them those squiggly words actually have a meaning and connection to what they do and see in real life. This is where we pique their curiosity to learn more about those squiggly words in the days to come.
Be Patient. I cannot emphasize this enough. Take a fun, light hearted approach. Consider it as 5-10 minutes of cuddle time with your little one as you take out your index card and practice the sound of the letters with them.
It could take up to a week for their growing brains to make the letter-sound-word connection. Remember, a lot is going on here for them. They have to first recognize the letter, and then translate it to its appropriate sound and finally connect them to form words.
It definitely gets easier over time. Also, do not be tempted to move ahead if the child is unsure about what has been taught.
Step 4: Introduce the letter ‘C’
If your child is able to sound out “U”, “P”, “UP” correctly, you can move on to introduce the next letter “C”. Otherwise, please stay on ‘U’, ‘P’ and “UP” until the child has shown more confidence in sounding our these letters and words correctly.
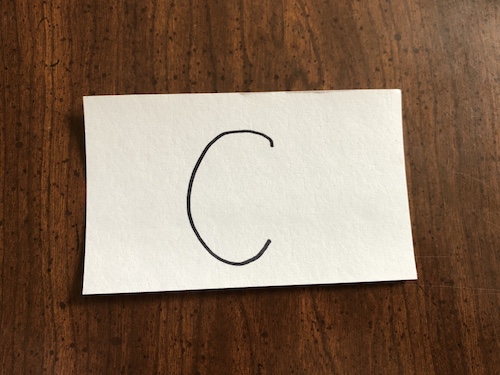
We show them the index card of ‘C’ and tell them that C says “ker”, just like in the Leapfrog Letter Factory video.
Step 5: Introduce the word ‘CUP’
With four different letters and their sound under their belt, we are ready to start introducing them words. We will start off with the word ‘CUP’.
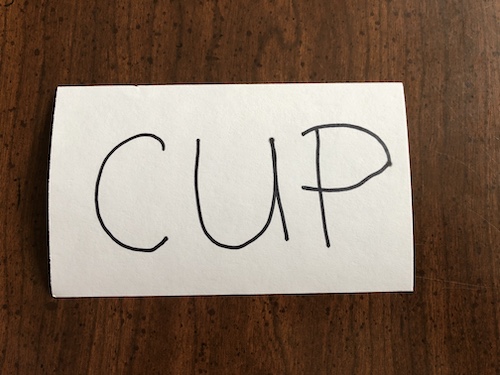
To put more context to the word, show them or have them bring you several cups from around the house. This adds an additional dimension to the learning. The words and sounds are no longer flat and boring but they actually relates to things in real life.
Step 5A: Review and be Encouraging
Each day, we repeat what we have learned in the previous days. So by day 4, ‘U’ would have been repeated at least 4 times, ‘P’ 3 times and ‘UP at least twice. We do not want to overload the child, so maybe only add in a new word when the child has confidently learned the ‘oldest’ word/letter of the stack.
Encouragement and Positivity. This is the time to be positive, animated, excited and do not hold back in stroking their ego. When they are able to sound out the letter or word without help, pile encouragement and praise on them with words like “Terrific”, “You are learning so quickly!”, “You are getting so good at this!”.
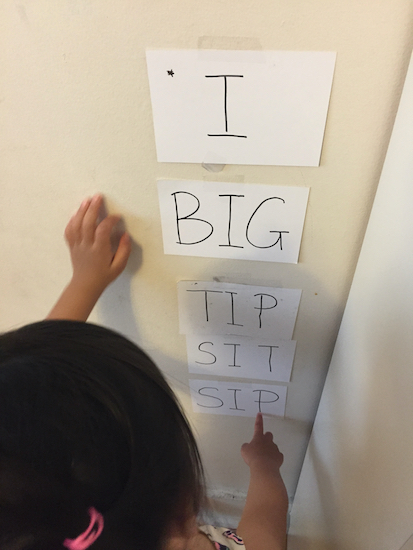
Make a word wall. We stuck the index cards on a word wall like this. We put it in a high traffic area where the child is likely to see the wall a couple of times a day. Even though you are not formally instructing them, each time they pass by the wall, they subconsciously form the linkage between letters, sounds and words.
Recommended List of 20 Words to get Started
To help you progress from here, here is the recommended list of 20 words to start teaching your child with the phonics system described here. They are introduced in a specific order to help the child build on what they have learned so they can progressively learn new words. They are also specifically selected as words that are well within the comprehension of most three to five year olds.
After learning these 20 words, your child will be able to recognize and sound out many of the words in Dr Suess’s Hop On Pop! At this point, we don’t expect them to read a book on their own. But it is a wonderful achievement for them to be able to recognize and sound out some the words in their favorite books.
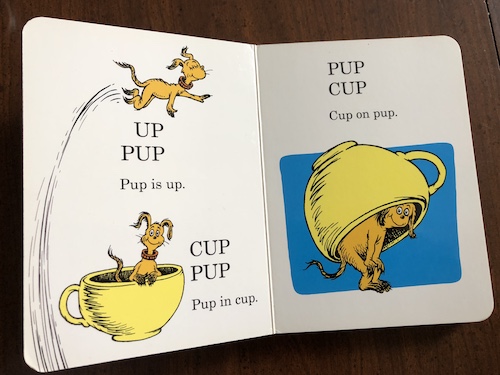
We want them to build small successes and small achievements over time to build up their confidence. This boosts their interest to want to keep learning so they can start reading like big boys and girls!
Make Learning Phonics Fun with Games!
Make it fun! Rather than just flashing index cards at them, I like to throw in a couple of silly games during each practice.
Game 1: Find the Card that says …
We lay out all index cards of all the letter sound and words learned so far. Next, I will say “Find the card that says cup.” We will repeat until the child has picked up all the cards.
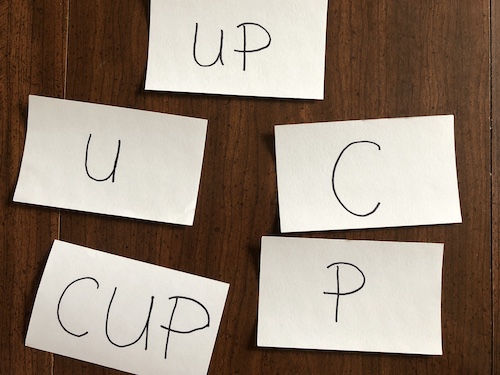
Game 2: Find all the cards that starts with the sound …
We will lay out all the index cards not the floor, and we each take turn to find the cards that start with the sound request. For example, “Find all the cards that starts with ‘puh’ [P]”. The player with the most cards win the game.
Game 3: Read the cards
Lay out all the index card and we take turn to sound out each card. The player gets to keep the card if he/she sounds out the cards correctly. The player with the most cards win.
In this game, I often pretend to be silly to say the sound or word wrongly because the little ones get a big kick out of correcting your mistakes! And if they correct your mistake, you can rest assure that they have truly learned the stuff.
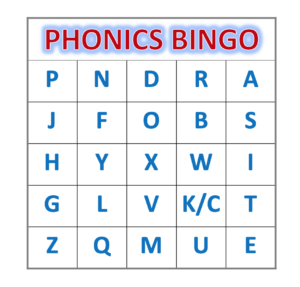
Game 4: Phonics Bingo
When your child has learned the sound of all 26 alphabets, the whole family can start to play phonics bingo together!
Practice, Practice and Practice.
The 10,000 hours rule says that it takes about 10,000 hours of practice to become an expert at something. In our case, we probably won’t need 10,000 hours but the key here is to be consistent and aim to practice for 5 to 10 mins each day. As the number of words grow, you may need an additional 10-15mins but it should take no more than 30 mins (including playing games) a day.
This is the system that I have used to teach all three of my kids to read. I am not going to promise you that they can read in 30 days or 100 days. In fact, I never kept track of how many days we are in. We just do it consistently three to five days week. We treat it like a game rather than a sit down worksheet-learning routine.
Every child is different and every child will progress differently. The beauty of this system is that you as the Mom or Dad is in control of the progress. If the child stumbles over a particular letter or sound, you will know immediately and can give more attention and practice to those letters.
Currently, my kids are all reading at least 1-2 levels above their grade levels. With my oldest two, we now have the problem to limit the amount of time they spend reading their books so they actually get their chores and homework done.
Questions? Comments?
If you have any questions about how the program works, please leave your questions in your comments. I have seen how amazing learning to read phonetically has helped my kids be more confident and be better learners when they start Kindergarten and First Grade. I hope this will be useful for you too.
